Quick Start
DataFlux Func is a Python-based script development, management, and execution platform.
DataFlux Func is pronounced as data flux function, and is sometimes abbreviated as DFF within the system.
Installation Package Download Command
| Bash | |
|---|---|
1 | |
0. Before You Read
All shell commands mentioned in this article can be run directly under the root user. For non-root users, you need to add sudo to run them.
This article only provides the most common operational steps. For detailed installation and deployment, please refer to Deployment and Maintenance / Installation / Standalone Deployment
1. System Requirements
Please ensure the host or cloud host running DataFlux Func meets the following conditions:
- CPU cores >= 2
- Memory capacity >= 4GB
- Disk space >= 20GB
- Network bandwidth >= 10Mbps
- Operating system is Ubuntu 16.04 LTS / CentOS 7.2 or above original system (macOS, Windows are not supported)
- Port
8088is open (This system uses port8088by default. Please ensure firewall, security group, and other configurations allow inbound access to8088)
Detailed System Requirements
For more detailed system requirements, please refer to Deployment and Maintenance / System Requirements
2. Installation and Deployment
DataFlux Func supports multiple installation package deployment methods. Users can choose according to their actual situation.
Download Installation Package Deployment
For deployment on a single host, it is recommended to download the installation package for deployment. This method is also suitable for various environments without public network access or restricted environments.
For systems like Linux, macOS, it is recommended to use the official shell command to download the installation package. The script will automatically select the x86_64 or aarch64 architecture version based on the current environment:
| Bash | |
|---|---|
1 | |
Manually Download Installation Package
Windows requires manual download of the installation package. Please refer to Deployment and Maintenance / Installation / Standalone Deployment / Manual Download
After downloading, run run-portable.sh in the directory where the installation file is located. This will automatically configure and finally start the entire DataFlux Func:
| Bash | |
|---|---|
1 | |
After execution is complete, you can use a browser to access http://{server IP address/domain}:{port} to reach the initialization operation interface.
Installation Script Configuration Parameters
For installation script configuration parameters, please refer to Deployment and Maintenance / Installation / Standalone Deployment / Installation Options
Install in k8s using Helm
Please refer to the documentation Deployment and Maintenance / Installation / Helm
3. Initialize the System
The first time you access the system after installing DataFlux Func, the initialization interface will be displayed. Click the "Save and Initialize Database" button to initialize the database.
Wait a moment. After initialization is complete, it will automatically jump to the login interface.
4. Run the Instance Function
The initially installed DataFlux Func includes a simple code example.
Click the "Edit" button to enter edit mode and modify the code.
In edit mode, you can select the function you want to run and click "Run".
The function's running results, including print(...) outputs, will be displayed in the output panel below.
5. Create a Function API
Go to "Manage / Function APIs" to see the function API list.
Click "Create" to create a function API for a function decorated with @DFF.API(...).
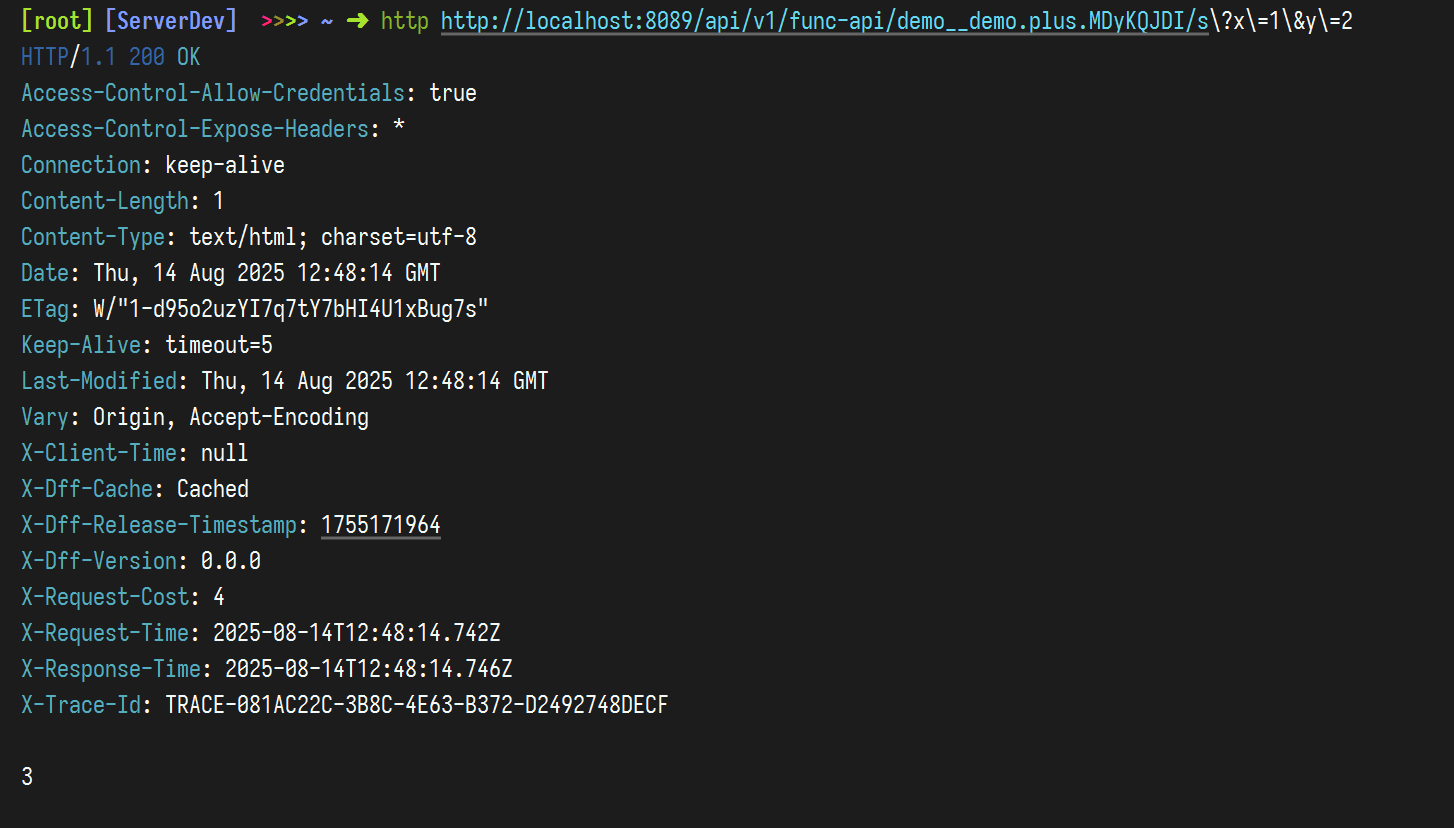
6. Call a Function API
Go to "Manage / Function APIs" to see the function API list.
Click "Example" to display calling instructions. Adjusting the calling parameters will automatically generate the specific calling method.
Access according to the prompted calling method to obtain the function's return value (i.e., the return value)